
Do you use them at all? Do you understand how a non-destructive breakline works? Does this link help?
Going back a few years ago, Jason Hickey posted a possible solution to add a curb island to a surface. There is a different way to add the same flow line/edge of pavement edge. The original post is here. For my alternate solution, follow the jump.
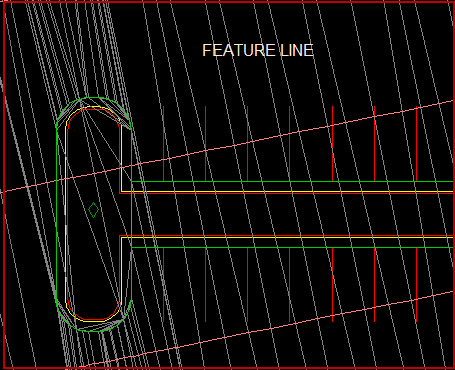
In this quick post, you should see the surface, automatically created from my pavement grading object, with triangles and contours showing in the attached image. I have pasted the Curb Island Dynamic Block and pasted so that it falls within the Pavement Surface. 
After exploding the block, and joining the edge of pavement into a continuous polyline, I am ready to go to add this to the surface.
“Wait…why aren’t you turning this into a featureline?” you say…
‘Cause… that isn’t the point of this post. 😉
Select the surface to enable the context sensitive Surface Ribbon tab, on the Modify Panel, select Add Data –> Breaklines to bring the Add Breaklines Dialog box. After properly describing your breakline, change the Type of the breakline from Standard to Non-destructive.
Change the Mid-Ordinate Distance to something suitably small. Something like 0.05. Since nothing else is available;
Select OK. Watch, and wait for the results. It should be quick. Don’t blink.
Compare the results:

Please note that this is different from the Non-destructive Boundary. This does not behave like a Proximity breakline or get converted to a Standard Breakline. All of the Z elevations of this Breakline are listed as Zero.

Do you see the power this provides?

