
A post popped up in the Adesk Discussion Groups about how to adjust the sampling widths of sections to match a variable width ROW. If you’ve ever needed to adjust your sections, read on for more information.
I’ve created a drawing with a CL alignment, then a left and right ROW alignment. These alignments are crucial to variable width sections. If you don’t have them already, you need them.

This drawing also has a corridor already completed, but turned off. Trust me on this one. It’s there, but I wanted it off for the purposes of clarity.
Cut your sections using the range of stations option shown here. This will display the dialog for swath widths etc.

In the dialog, there is an option on each side to snap to an alignment. This is the important part! Set your alignments as the target and rock on.

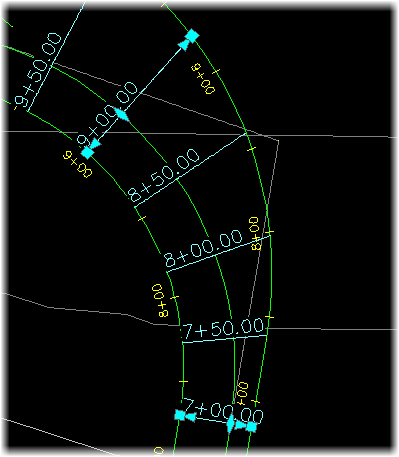
Click OK and close the Sample Line Group toolbar. Notice how my section lines follow the Right ROW alignment in the following picture.
A few things of note. Once you’ve sampled, there is no link between the ROW alignment and the sample line. Move the ROW, the sample will not update! Also, if you’ve already sampled, there’s no easy way to set the widths to match the alignment. Unfortunately, you need to erase your sample lines, and reprocess them.
Maybe someone has a solution to that last bit? If so, throw it in a comment below!


Sorry for the lame question but one asked in my office. For the alignments you create at the variable ROW, do you have to create a profile for those alignments? Thanks.
No profiles needed, Jeremy. Just an alignment will do perfectly.